
Last updated September 20, 2026
Full 25-point door and opener safety check with every visit - springs, cables, rollers, tracks, and your LiftMaster or Chamberlain opener included
You get a price before we start. It does not change when the truck arrives.

Full-view glass
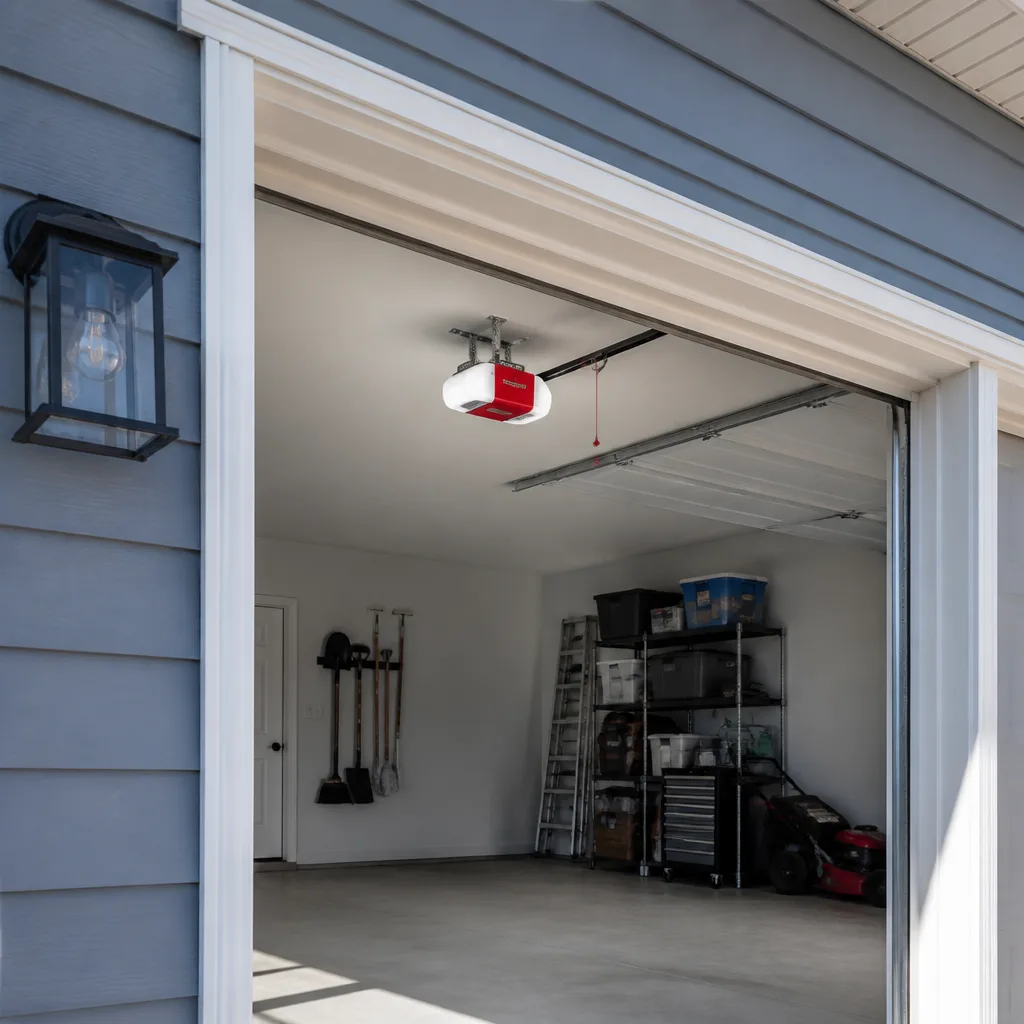
Chamberlain openers
 Before
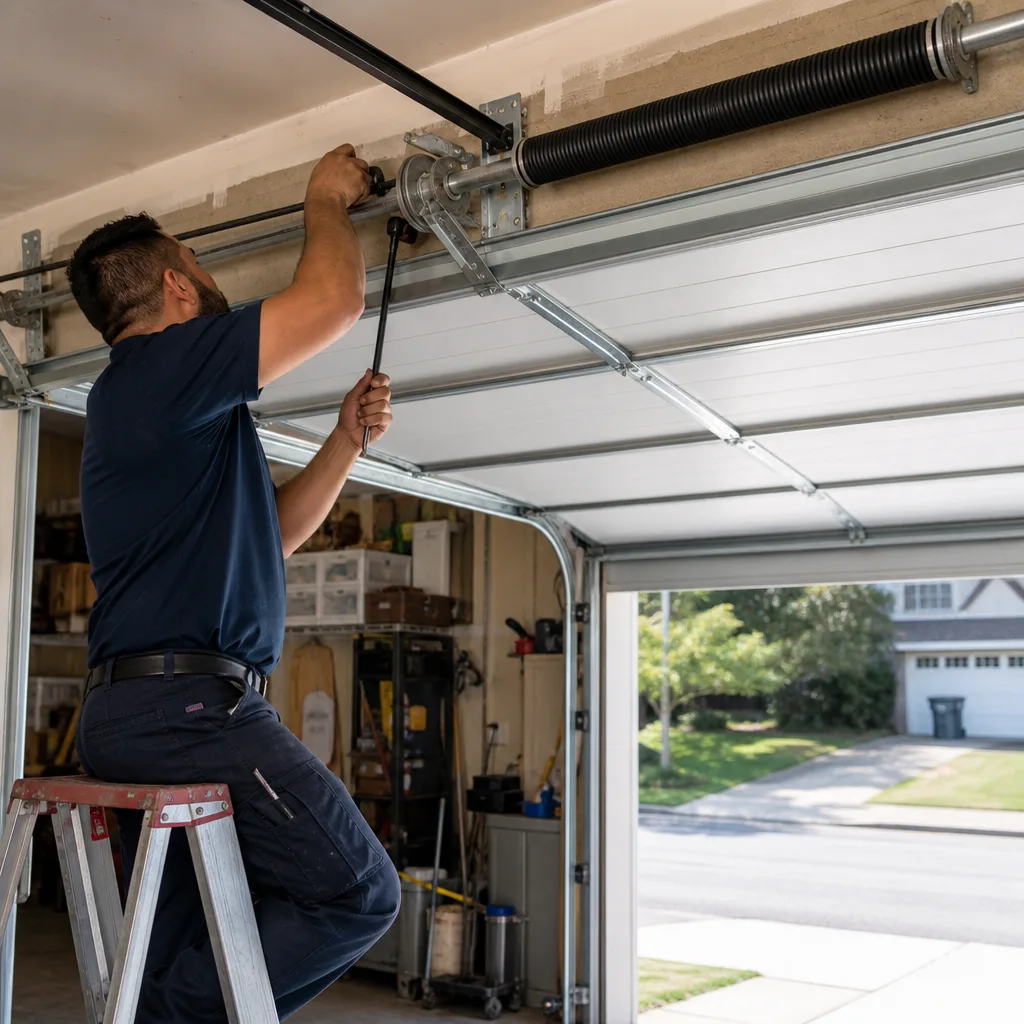 After
After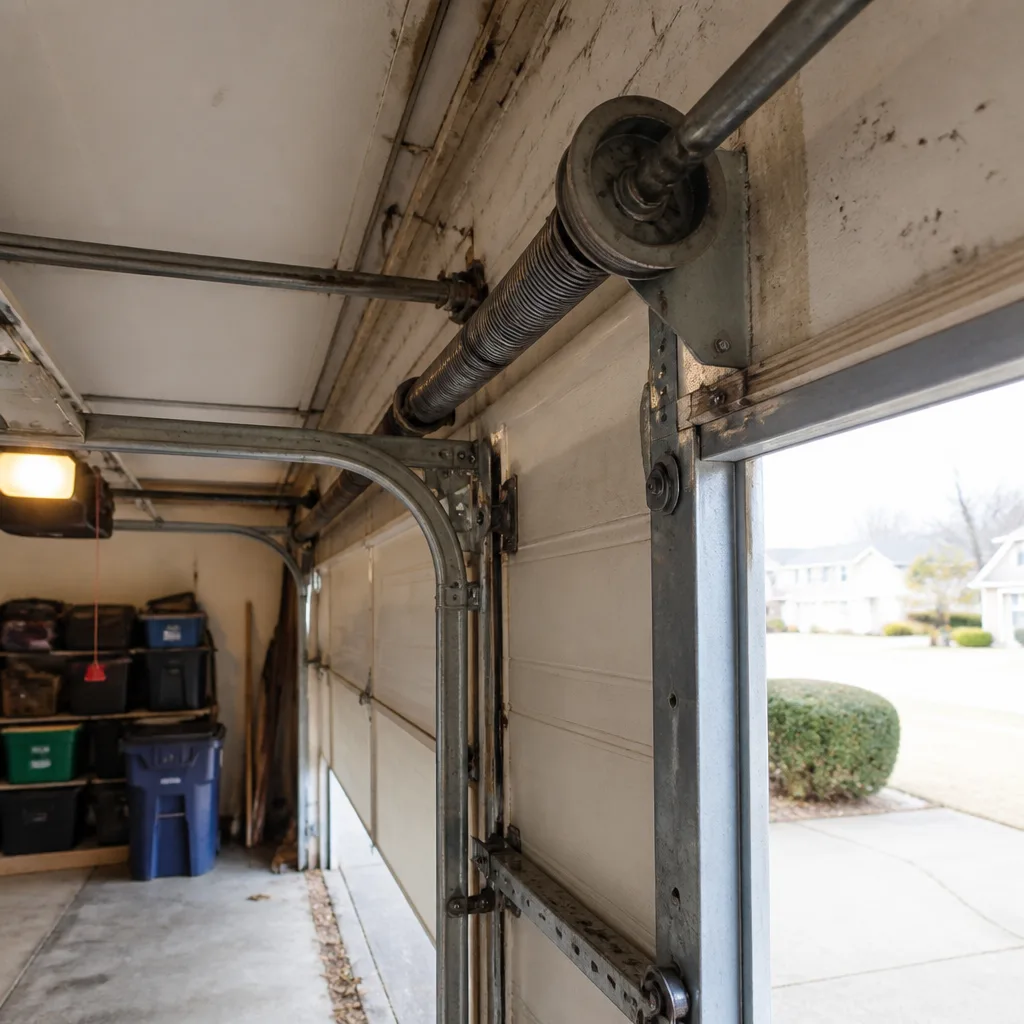 Before
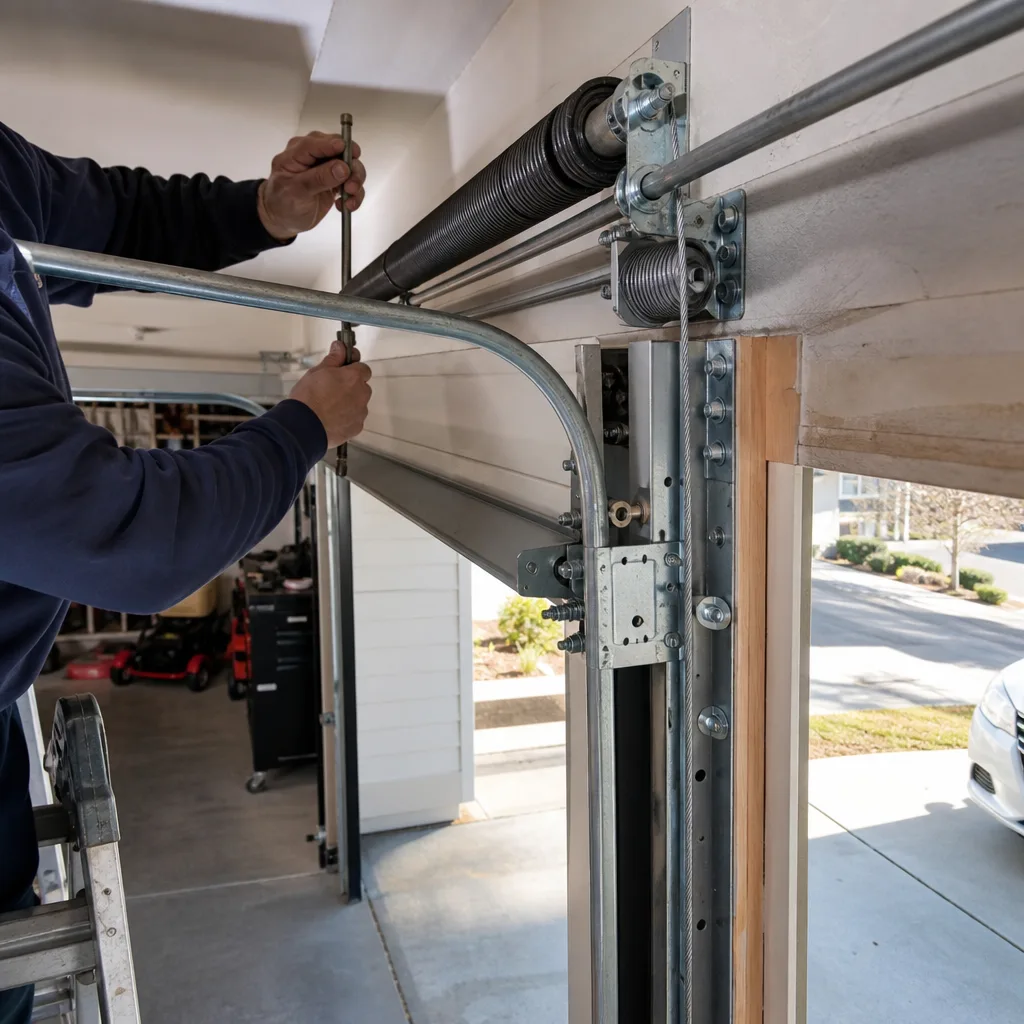 After
After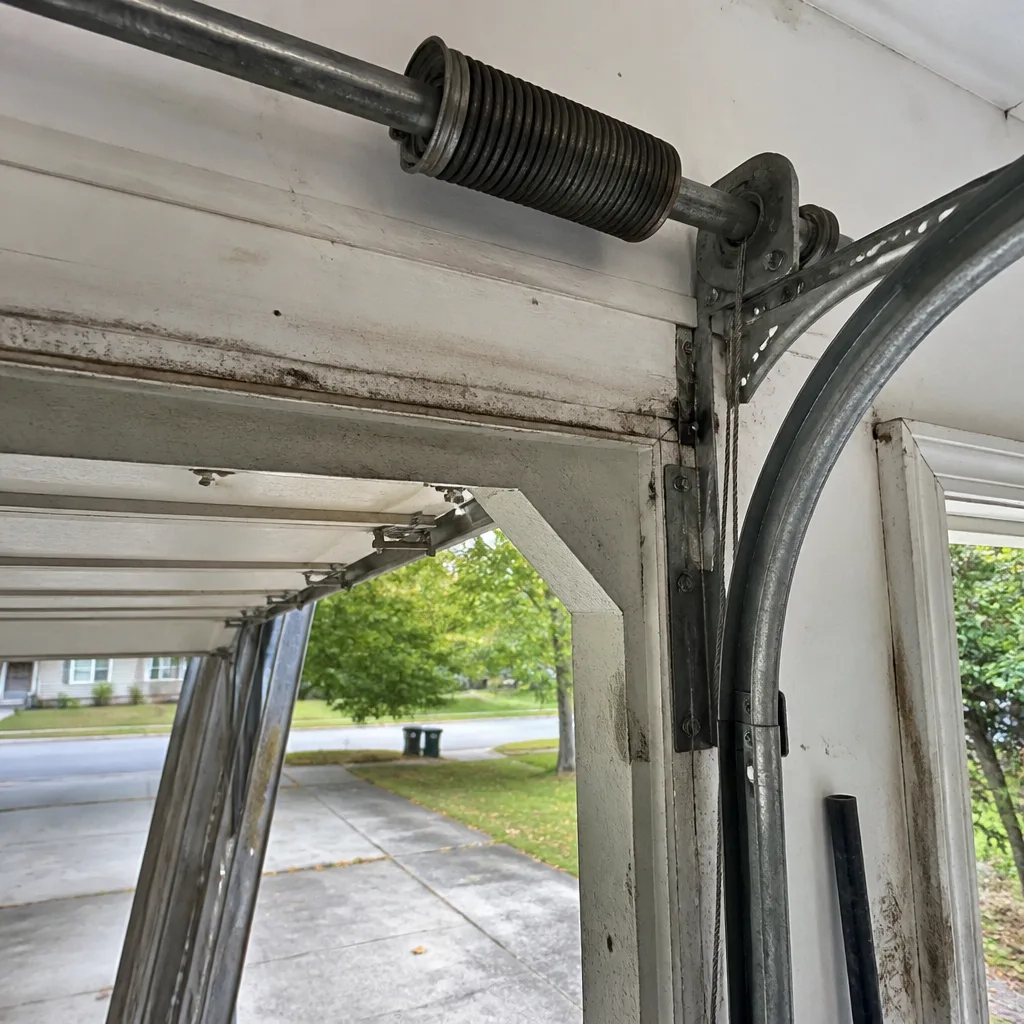 Before
 After
AfterGarage Door Opener Repair & Installation Maintenance Checklist for Lawrenceville Homeowners
The opener is not broken. In most Lawrenceville service calls where a homeowner reports an opener failure, the opener is doing exactly what it was designed to do: stopping because a sensor, limit switch, or mechanical condition told it to. We’ve torn down openers in homes across Lawrenceville where the logic board was fine, the motor windings were fine, and the only fault was a photo eye knocked six degrees out of alignment by a garbage can. This guide is a working checklist for diagnosing, maintaining, and when necessary replacing your opener, written for a homeowner who wants to understand the problem before a technician walks in the door. You’ll learn the sequence that separates opener faults from sensor faults from mechanical faults, what maintenance actually matters in our climate, and what a documented installation quote must specify before you sign anything.
Quick Answer
A garage door opener repair in Lawrenceville GA typically falls into one of three categories: sensor realignment or cleaning ($85 to $150), limit or force adjustment ($95 to $160), or logic board and gear replacement ($180 to $340), with most jobs completed in a single visit. For Garage Door Warning Signs: A Lawrenceville Homeowner’s Reference Guide, see our earlier post. Before assuming the opener is dead, check the photo eye alignment, the manual release cord, and whether the door opens smoothly by hand. If the door binds or drags without the opener connected, the mechanical door is the problem, not the motor.
Table of Contents
- First Question: Is It the Opener or the Door?
- Drive Types Compared for Lawrenceville Homes
- Monthly Maintenance Checklist
- Semi-Annual Maintenance Checklist
- Annual Maintenance Checklist
- Force and Limit Settings: What to Check Without Breaking Anything
- What a Documented Installation Quote Must Specify
- Common Mistakes to Avoid
- When to Call a Professional
- Frequently Asked Questions
- The Bottom Line
BeforeAfterFirst Question: Is It the Opener or the Door?
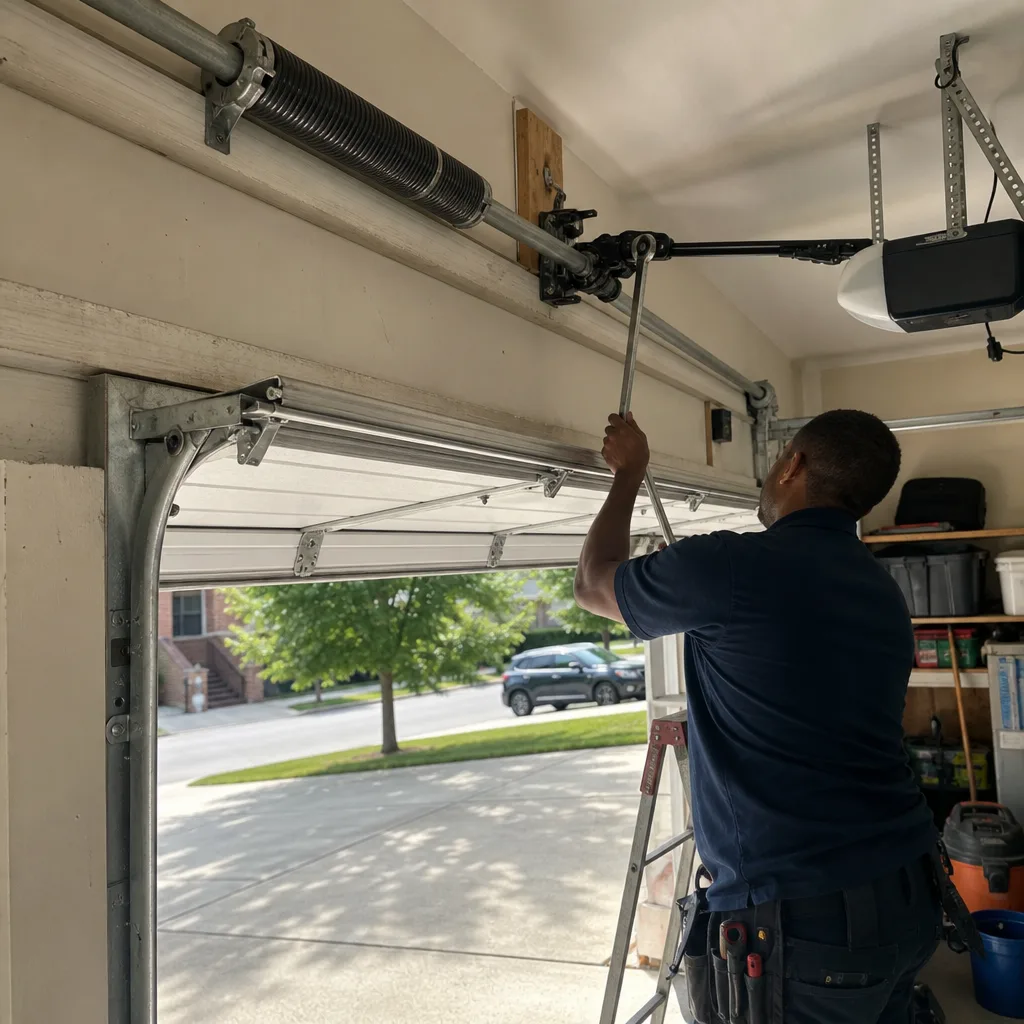
Every opener diagnosis starts with a disconnect. Pull the red manual release cord while the door is closed, then lift the door by hand. A properly balanced door should lift with roughly 8 to 12 pounds of effort and hold itself at waist height without dropping or rising. If the door is heavy, falls when you let go, or grinds against the track, the opener is being asked to do work the door should be doing itself. In Lawrenceville, where spring steel reacts to our summer humidity and winter temperature swings, we see extension spring failures misreported as opener faults at least as often as genuine motor failures. The opener was never designed to lift door weight; it moves a balanced door. When the balance fails, the opener works harder, runs hotter, and burns out gears or logic boards prematurely.
Once you’ve confirmed the door moves freely by hand, check the safety sensors. These are the photo eyes mounted six inches off the floor on each side of the door opening. They send an invisible beam across the threshold, and if that beam breaks, the opener refuses to close the door. A misaligned sensor accounts for a large share of “opener won’t close” calls. One sensor should have a green LED lit, the other an amber or red LED depending on brand. If one or both lights are dark, or if one blinks when the door is closing, you’ve found the fault before you’ve called anyone.
Diagnostic Sequence in Order
- Disconnect and hand-lift the door. Confirm it balances and moves smoothly. If not, you have a door or spring problem, not an opener problem. Call a technician who services doors as well as openers, which means most garage door companies and not every handyman.
- Check the photo eyes. Are both LEDs lit? Are the lenses clean, free of spider webs and Georgia clay dust? Is anything stored between the sensors?
- Watch the opener’s behavior closely. Does it hum without moving? Does it start and reverse immediately? Does it run but stop halfway? Each pattern points to a different component: a humming motor with a moving door that doesn’t budge suggests a stripped gear or broken sprocket; an immediate reversal suggests sensor input; a mid-travel stop suggests a limit switch or a binding track section.
- Inspect the drive mechanism. On a chain-drive unit, look for slack or rust. On a belt-drive, look for fraying or cracking. On a screw-drive, look for worn threads or dried grease.
- Test the wall console and remotes separately. If the wall button works but the remote doesn’t, the opener’s receiver is fine and the problem is in the handheld unit, its battery, or its programming.
This sequence matters because it prevents you from buying a new opener when the old one needed a $12 sensor bracket. It also matches the procedure a competent technician follows. At Servo Garage Doors Lawrenceville home service visits, the diagnostic order is documented and photographed before any part is quoted, which is the difference between knowing what you’re paying for and hoping the problem was real.
Drive Types Compared for Lawrenceville Homes
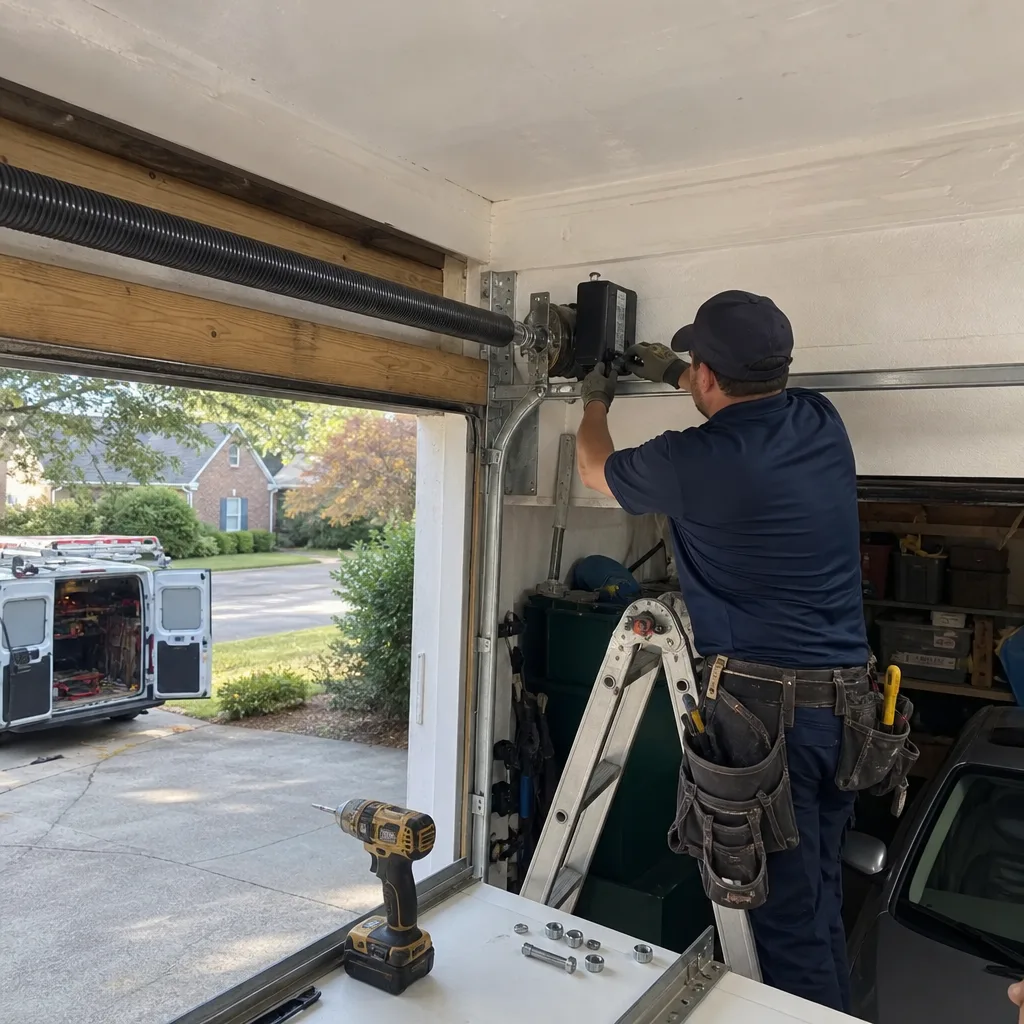
Lawrenceville’s attached-garage homes put the opener directly beneath bedrooms and hallways in a large share of floor plans, which means drive noise is not an abstraction. A chain-drive opener produces a metallic rattle that carries through drywall; a belt-drive produces a low thrum. If the garage shares a wall with a nursery, home office, or upstairs bedroom, the drive type is a daily decision, not a specification-line detail. At the same time, our temperature swings from January mornings in the low 30s to July afternoons in the mid-90s affect lubrication viscosity and plastic component stiffness. Screw-drive units that run smoothly in mild weather can sound louder on cold starts, and they generally want more frequent rail lubrication than belt or chain units.
| Drive Type | Noise Level | Maintenance Demand | Typical Lifespan | Best Fit in Lawrenceville |
|---|---|---|---|---|
| Chain | Highest | Low (occasional chain tension check) | 10-15 years | Detached garages or budget-focused replacements |
| Belt | Lowest | Very low | 12-18 years | Attached garages under bedrooms or offices |
| Screw | Moderate | High (rail lubrication required) | 10-14 years | Garages where temperature swings are less of a concern, or older homes with single-piece doors |
| Direct-drive | Low | Very low | 12-16 years | Homes where the opener is mounted close to living space |
Most Lawrenceville homes we see with the original builder-grade opener from 2010 to 2018 are running a chain-drive Chamberlain or LiftMaster and a door that was never rebalanced. The opener gets blamed for the noise, but the noise is often the chain dancing on a stretched rail while the motor compensates for a spring that’s lost tension. If you’re replacing an opener because it’s loud, check the door balance first. A belt-drive installed on a poorly balanced door will still work harder than it should and fail early.
On the maintenance side, belt-drive openers require almost nothing beyond keeping the rail clean. Chain-drive units want tension checked annually and lubricated lightly on the chain itself, not the rail. Screw-drive units want a specific lithium-based grease on the screw shaft; using the wrong lubricant accelerates wear. Whatever you have, the tasks are documented in the checklists below. For a full breakdown of repair and installation work, see our Garage Door Opener Repair & Installation in Lawrenceville service page.
Monthly Maintenance Checklist
This list takes roughly ten minutes and requires no tools beyond a rag and a flashlight. The point is not to fix anything; it’s to catch changes before they become failures. Lawrenceville humidity in summer means dust and spider webs accumulate on sensors faster here than in drier climates. Pollen in spring coats everything including photo eye lenses, and a thin pollen film on a sensor lens can scatter the beam enough to cause intermittent reversals.
- Photo eye lenses: Wipe both lenses with a dry microfiber cloth. No chemical cleaners. Confirm both LEDs are lit and steady.
- Manual release cord: Pull it once per month while the door is closed, hand-lift the door three feet, and confirm it stays put. This verifies spring balance and gives you muscle memory for a power outage.
- Reversing mechanism test: Place a roll of paper towels flat on the floor under the door’s path. Close the door. It should reverse within two seconds of contacting the roll. This is the opener’s primary safety function and the one test the CPSC recommends every homeowner perform monthly.
- Loose hardware check: Shine a flashlight along the rail and listen as the opener runs a full cycle. Any rattle, squeak, or visible wobble in the track or rail mounting brackets gets noted. Tighten track brackets with a 7/16-inch socket. Do not touch the spring hardware; those bolts are under tension and should only be adjusted by someone with the right winding bars and training.
- Remote and keypad batteries: Replace remote batteries annually or when range noticeably drops. Test the keypad code. Reprogram security codes if you’ve had a contractor, cleaner, or pet sitter with access.
Semi-Annual Maintenance Checklist
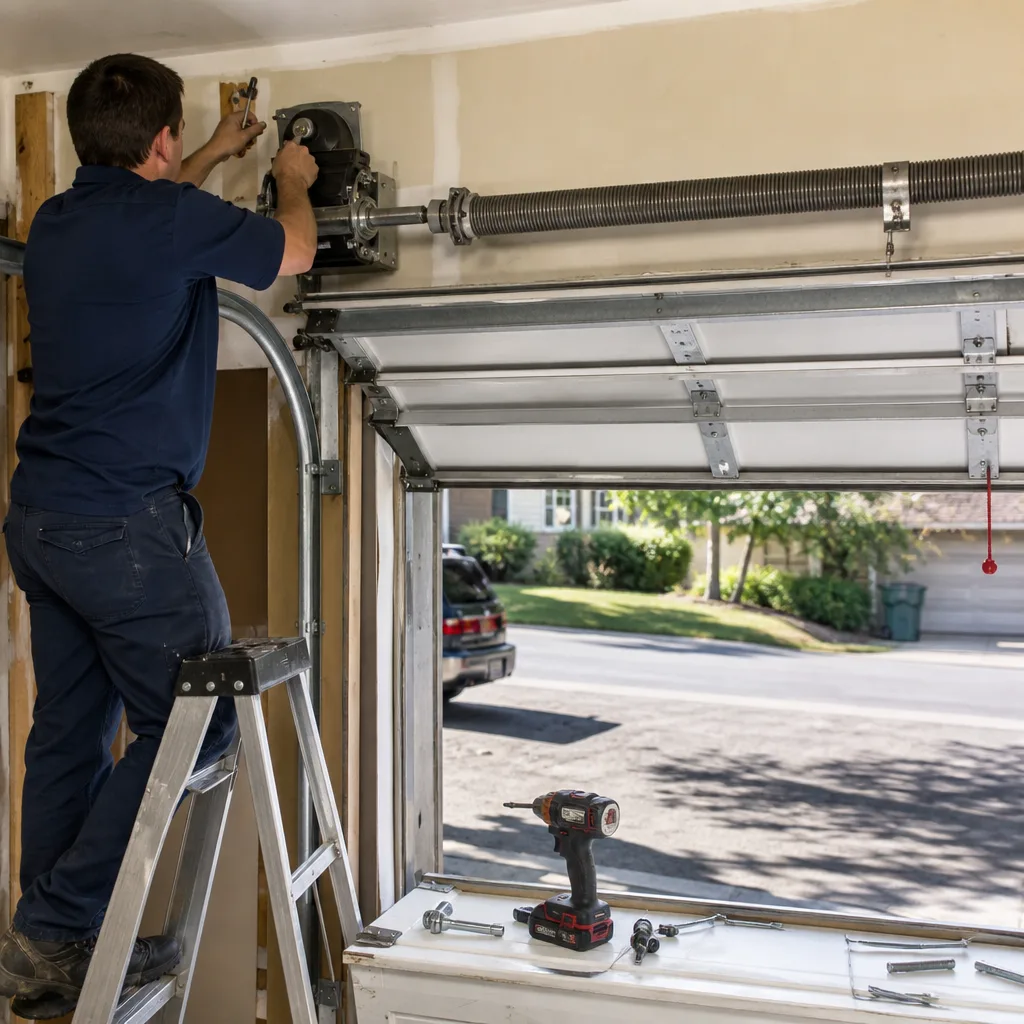
Every six months, the checklist expands to include lubrication and wear inspection. The right lubricant matters more than the frequency. For steel rollers, hinges, and bearing plates, use a white lithium spray grease or a silicone-based garage door lubricant. Do not use WD-40 as a primary lubricant; it’s a solvent and displacer, not a lasting lube, and it strips the grease that was already there. For nylon rollers, lubricate only the bearing, never the wheel itself; the wheel rolls on the track dry by design.
- Springs: Spray a light coat of white lithium grease on torsion springs to prevent surface rust, which is a real issue in Lawrenceville garages that stay humid from April through September. Do not lubricate the cones or the winding hardware.
- Hinges and rollers: One short burst of lubricant on each hinge pin and each roller bearing while the door is open. Wipe off drips. Keep lubricant off the track itself; that attracts dirt and creates the binding you’re trying to prevent.
- Chain or belt tension: On a chain-drive, the chain should sag no more than half an inch at its midpoint when the door is closed. On a belt, look for cracking or fraying along the full travel. A belt that’s shedding rubber is near failure and should be replaced by a technician before it snaps mid-cycle.
- Track alignment check: Run the door up halfway and eyeball both tracks from the back of the garage. The gap between roller and track should be even on both sides. If the door shudders or shifts sideways during travel, the tracks have loosened or the door has picked up a slight skew. This is a mechanical adjustment, not an opener problem, but the opener will suffer for it.
- Weather seal and threshold: Inspect the rubber bottom seal for cracks and the side weatherstripping for gaps. A damaged seal lets in Georgia humidity and occasional snakes, and it makes the garage meaningfully hotter in summer, which shortens logic board life.
Annual Maintenance Checklist
Once a year, do the deeper checks that most people skip until something fails. This is also the time to photograph everything: rail, spring, hinges, sensors, opener head. Keeping a dated photo record makes it easy to spot gradual wear and gives you evidence if you’re comparing a quote against what a technician claims to have found.
- Full safety reversal test with a 2×4: Lay a 2×4 flat on the floor under the door path. Close the door. It should reverse within two seconds of contact. Then test the photo eye by closing the door and passing your foot through the beam while the door is descending. It should reverse immediately. If the door fails either test, stop using the opener and either adjust per the next section or call a technician. This is the test that confirms the opener’s safety systems still function, and it’s the test that matters more than any other item on the list.
- Force setting verification: After the reversal test, close the door on a bathroom scale placed under the door’s path. The door should reverse when the scale reads approximately 20 to 30 pounds of resistance. A door that plows through 40 or 50 pounds before reversing is set too forcefully and could injure a child or pet. This is an adjustment task, discussed below.
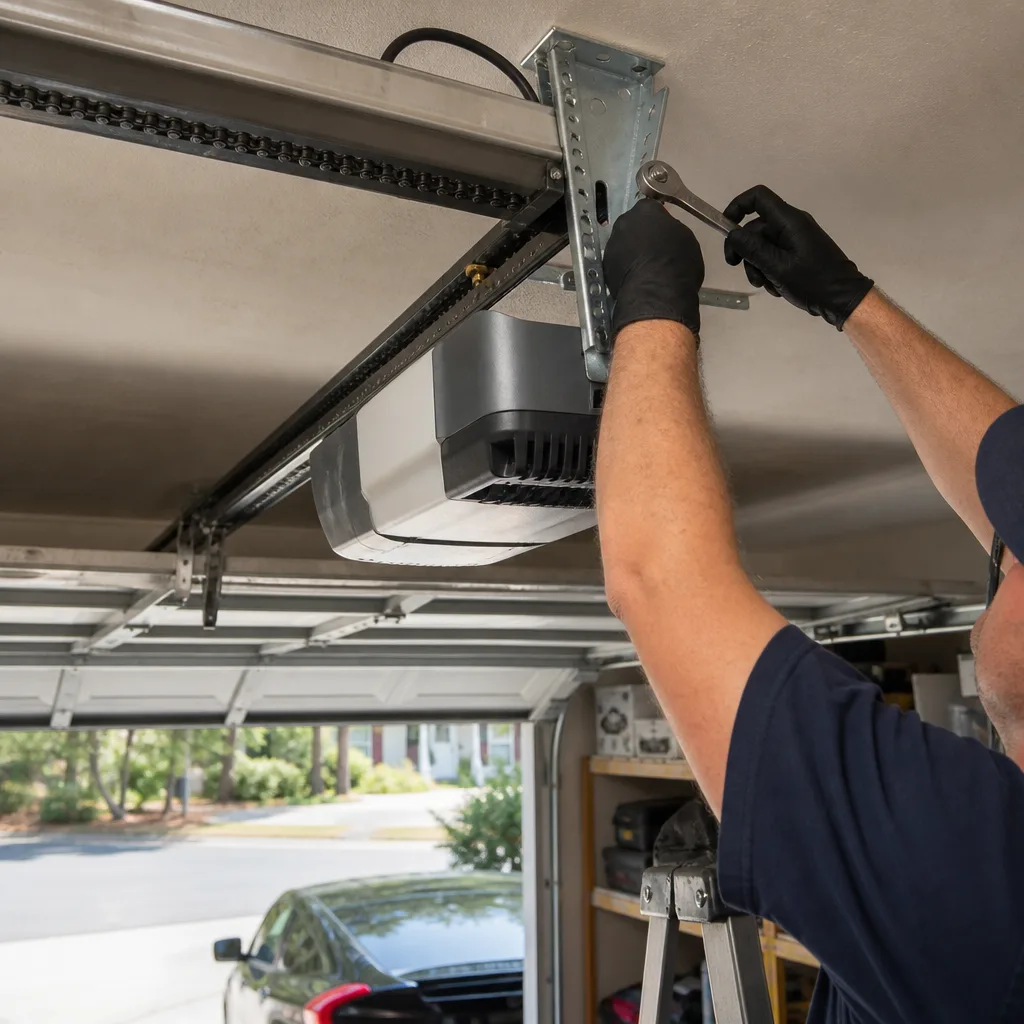
- Opener head inspection: Remove the cover and look for dust accumulation on the logic board, signs of overheated components, and gear wear. Blow out dust with compressed air. Check that the opener is still mounted level; a loosened bracket changes the geometry of the rail and accelerates gear wear.
- Battery backup check: If the opener has a battery backup unit, unplug the opener from the outlet and run one full cycle on battery power. Confirm the opener beeps or indicates low battery. Battery backup units last three to five years on average and should be replaced before hurricane season, when Lawrenceville sees most of its power outages.
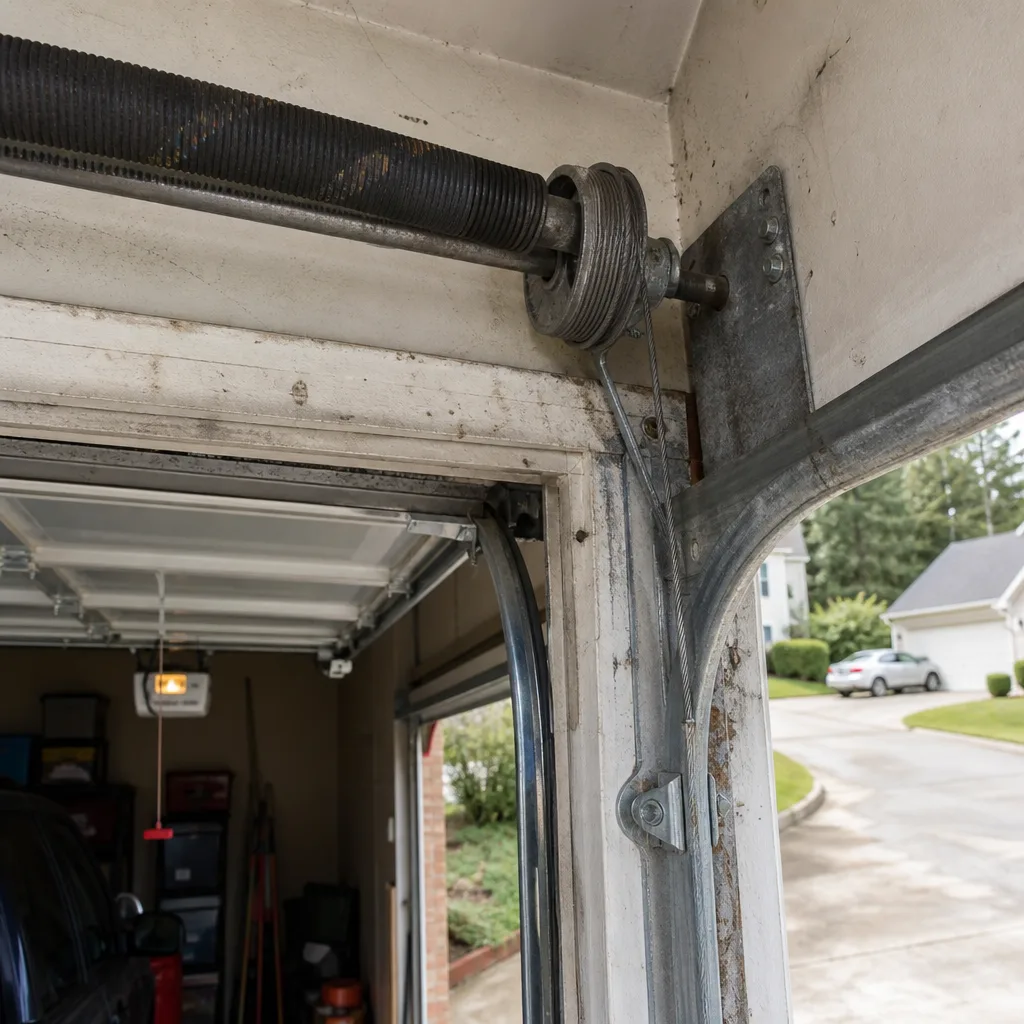
- Spring inspection by a qualified technician: This is the one item on the annual list where we tell you to step back. Torsion springs are under enough tension to cause serious injury or death if mishandled. The inspection itself is visual; for a technician, the replacement is routine. But the winding and unwinding of a spring requires specific bars and experience. If the spring shows rust, a gap in a coil, or uneven spacing between coils, call someone.
Force and Limit Settings: What to Check Without Breaking Anything
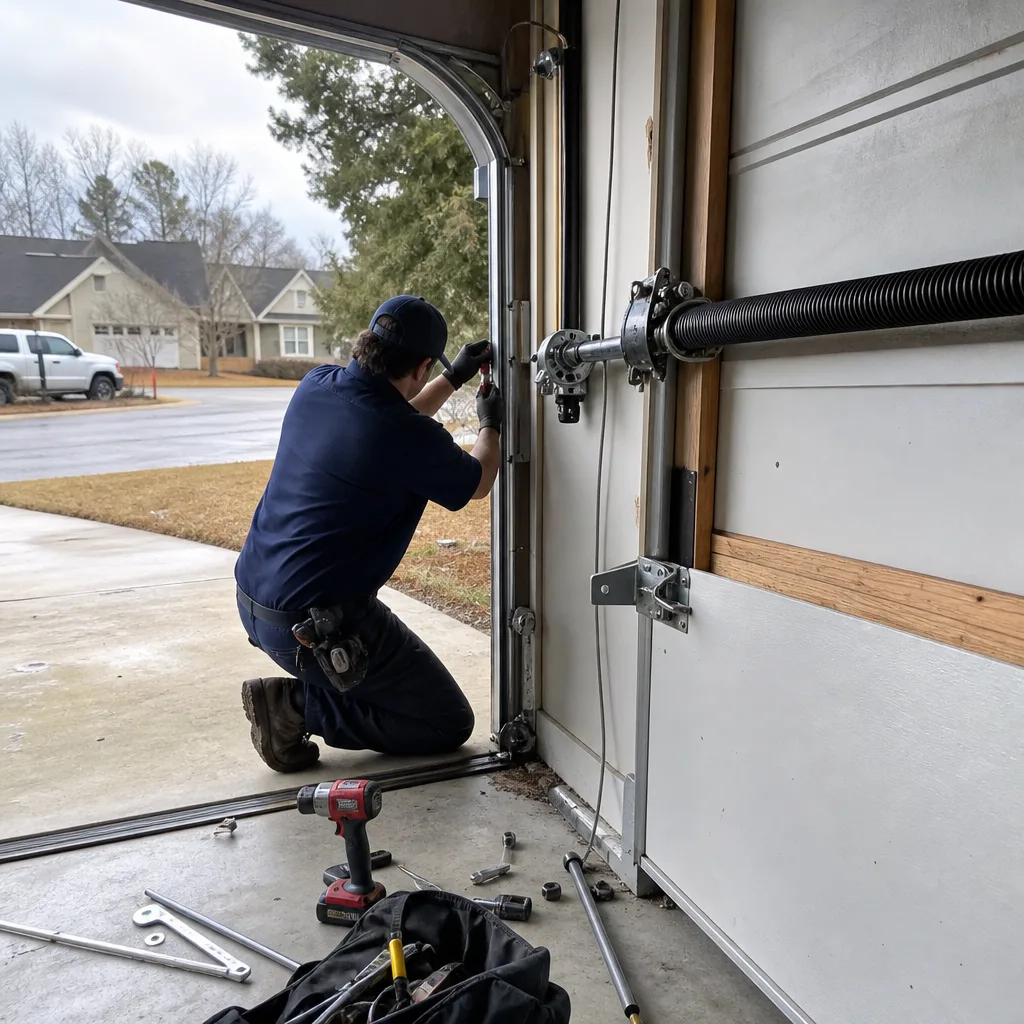
The force setting controls how much resistance the opener will push against before reversing. The limit setting controls how far the door travels before the opener decides it’s fully open or fully closed. Both are adjustable on every modern opener, and both are adjusted incorrectly more often than any other setting. What most homeowners don’t realize is that changing these settings incorrectly voids the manufacturer’s warranty and creates the exact safety hazard the opener’s reversing mechanism is designed to prevent. An opener set to push with too much force becomes a 300-pound pinch point.
Here’s the disciplined version of this section, and it’s the one that keeps your warranty intact and your household safe. The mechanical work measures resistance with a scale, not with guesswork:
- Locate the adjustment controls without touching them yet. On LiftMaster and Chamberlain units, the force controls are typically dials or buttons on the side or back of the opener head labeled “up force” and “down force.” On Genie units, they’re often accessed through a menu on the wall console. On Craftsman units, they’re dials on the head with a flathead slot. Find them. Read the label. Do not turn anything.
- Run the reversal test first. The 2×4 test from the annual checklist is the baseline. If the door passes, the down force is not dangerously high. If it fails, the setting needs to come down, and that adjustment is a technician call unless your opener’s manual gives explicit step-by-step instructions you’re prepared to follow exactly.
- Check the limit settings by observation. Close the door and watch the bottom seal. It should touch the floor evenly without the rail bowing upward. Open the door and watch the top panel clear the header without slamming into the stop bolts. If the door stops an inch short or tries to keep pushing when fully closed, the limits need adjustment. Again: the adjustment procedure varies by brand and model, and doing it wrong causes the opener to fight itself on every cycle.
- Respect the warranty line. LiftMaster, Chamberlain, Genie, and Craftsman all state in their warranty documents that damage caused by improper force or limit adjustment is not covered. If you’re outside your comfort zone on this, the honest recommendation is to let a trained tech do it and photograph the before-and-after settings.
In our experience in Lawrenceville, force settings drift most often on openers installed by previous owners or handymen who “helped out” years ago. The opener was probably set correctly at the factory; it’s the accumulated small adjustments that made it unsafe. When we install or repair an opener, we document the calibration readings and include them in the photo record so the homeowner can see what was set and confirm it passes the reversal test with their own 2×4.
What a Documented Installation Quote Must Specify
If you’ve decided the opener needs replacement, the difference between a quote you can verify and a quote you’ll regret comes down to what’s written on the page before the install date. A verbal quote is not a quote; it’s a guess with a handshake. In Lawrenceville, where homes range from 2000s subdivisions with standard rails to older properties with non-standard headroom and exposed beam ceilings, a proper opener quote varies enough that blanket pricing doesn’t hold up. Garage Door Permits, Codes & Inspections in GA: What You Need to Know may also apply depending on your project scope.
Every written installation quote should include, at minimum:
- Rail length and type: Measured for your specific door height, not estimated. A 7-foot door takes a different rail than an 8-foot door, and installing the wrong one is a common cause of early limit-switch failure. This should be measured on site, not assumed from the builder’s spec sheet.
- Horsepower or motor rating: The opener’s motor size should match the door’s weight and balance. Most residential doors are fine with a ½ HP or ¾ HP unit depending on door material. A heavy wood or insulated steel door may require ¾ HP or more. If the quoted HP seems high for a standard single-car door, ask why.
- Battery backup inclusion: Stated as included or excluded, with the model number of the battery unit if included. Lawrenceville sees enough storm-season outages that a battery backup is reasonable insurance, but you should know before the install whether you’re paying for it.
- Warranty terms in writing: Which parts, which labor period, and what voids it. A warranty that’s “explained” verbally isn’t enforceable in any way that matters. Most opener manufacturers offer a lifetime warranty on the motor and one to five years on parts; some installers extend labor for a specific period. The extension should be in writing.
- Removal and disposal of the old opener: Stated explicitly. Some installers leave the old unit in the garage unless you ask, and you find out when you’re looking at a pile of metal where your car parks.
- The flat written price and written scope: Both numbers and the work they cover, no variables, no “plus parts.” Clause 1 of The Haven Standard exists because every job should start with a number on paper and an explanation of what that number includes. If the quote you’re holding says “call for pricing,” it’s not a quote; it’s an invitation to a negotiation you didn’t ask for.
On every installation, Servo Garage Doors Lawrenceville delivers a written price and a written scope before any work starts, along with a documented photo record showing what was removed and what was installed. That paper trail is the product as much as the opener is. You can also bring a competing estimate to us for a free second opinion, no coupon or code required. The point is not to make you switch; it’s to make sure you’re comparing the same scope line by line.
Common Mistakes to Avoid
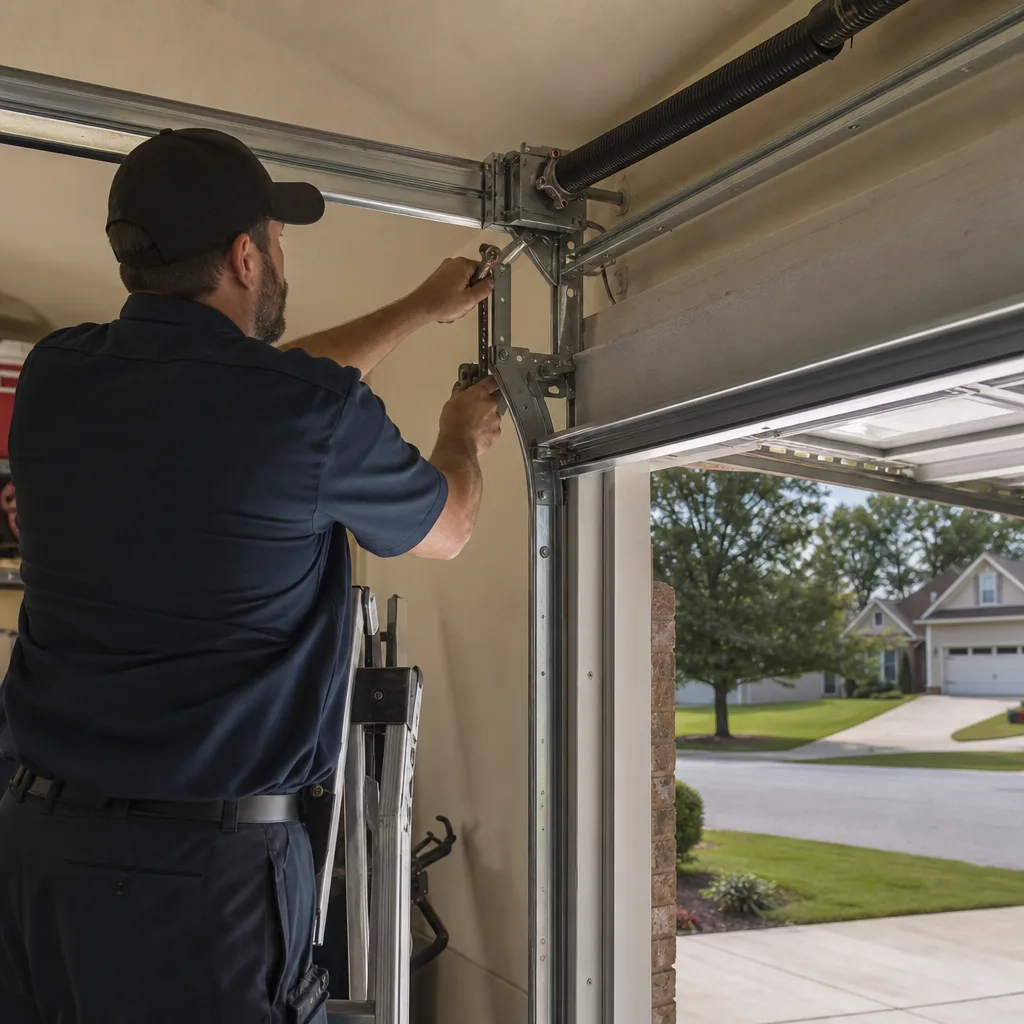
- Replacing the opener before checking the door. This is the big one. A new opener installed on a heavy or binding door will fail early, and the warranty won’t cover the damage caused by forcing a door that should have been rebalanced first. Pull the release cord and lift the door before you spend anything.
- Lubricating the track. The track does not need lubricant. The rollers roll on the track; adding grease attracts dirt and creates the exact binding you were trying to prevent. Lubricate the hinges, bearings, and springs. Leave the track dry and clean.
- Ignoring a blinking sensor light. A sensor that blinks during operation is telling you something specific, and the sequence matters. Most manual brains have a diagnostic chart for the blink patterns; the most common is a misaligned sensor or a beam blocked by dust, shadow, or an object. Fix the sensor before touching the opener settings.
- Cranking up force settings to “fix” a door that reverses. When a door reverses mid-close, the fix is almost never more force; it’s a sensor issue, a track bind, or a limit mis-set. Raising the down force overrides the safety mechanism and creates a pinch hazard. Never tune a safety system to work around an unresolved fault.
- Using the wrong lubricant. WD-40 on hinges or springs is a solvent, not a persistent lubricant; it strips what was there and leaves the steel dry. Use a white lithium spray grease or a purpose-made garage door lubricant. The can says garage door on it for a reason.
- Accepting a verbal quote. In Lawrenceville, a quote you can’t read is a number the installer can revise after the old unit is off the ceiling. Written price, written scope, written warranty. Every time. If the company won’t put it on paper before the job, find one that will.
- Skipping the monthly reversal test. This is the test that protects people and pets. Ten minutes a month. A roll of paper towels. It catches a failing opener before it becomes a crushing incident. We can’t overstate how many homeowners only discover their opener’s force setting is wrong when something goes under the door.
When to Call a Professional
A stripped gear inside the opener head, a snapped torsion spring, a logic board that won’t respond to any input, or a door that’s visibly crooked in the tracks are all technician calls, and they’re not opinions; they’re component failures with no safe homeowner workaround. Torsion spring work carries the highest stakes of any garage door job, and we won’t provide steps for winding or unwinding one, because the injury risk is real and the tooling is specialized. If the door smells like burning electrical insulation when the opener runs, unplug the unit and call someone. If the opener works but the door sounds like it’s grinding metal against metal, stop running it; every cycle you continue is chewing the rails. Servo Garage Doors Lawrenceville offers free estimates in Lawrenceville, and every quote is written before any work starts. Call (470) 202-3917 and a person answers, day or night, not a queued recording.
Frequently Asked Questions
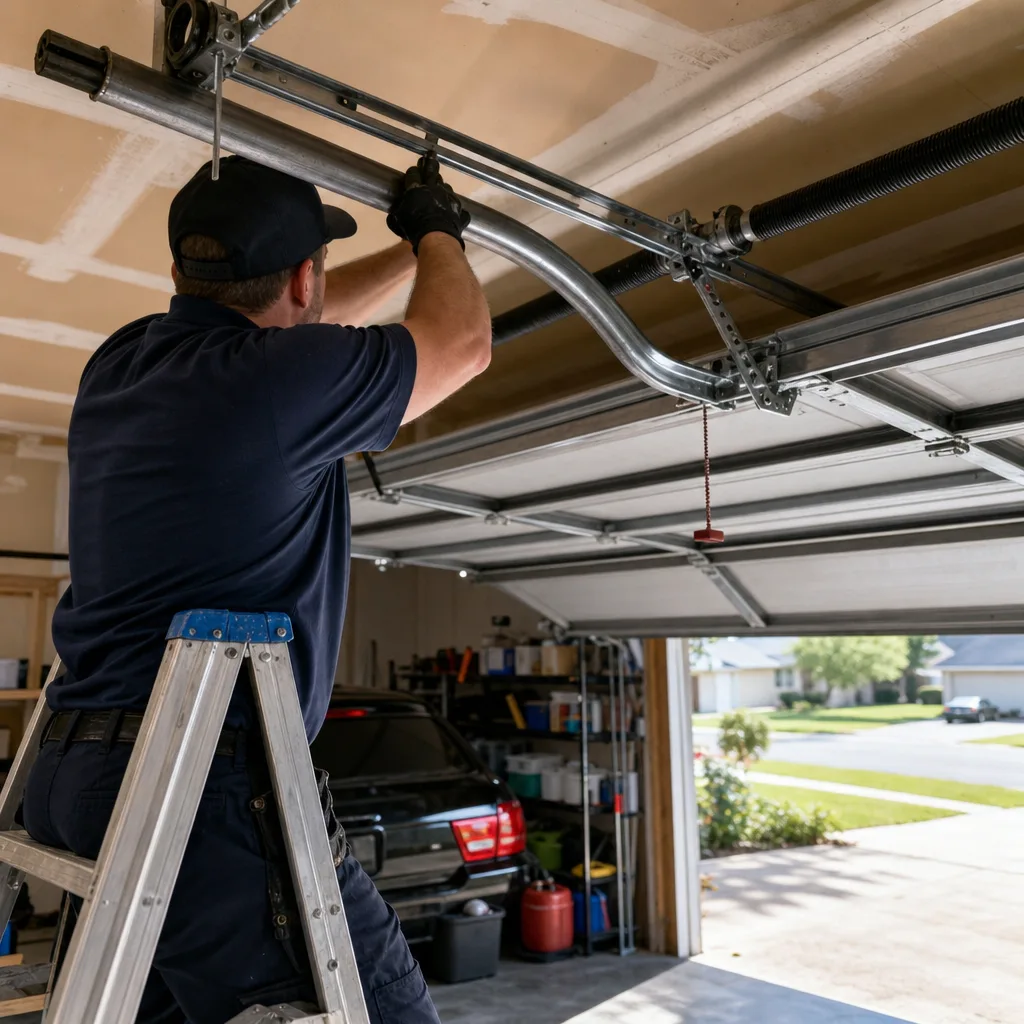
Most opener repairs in Lawrenceville fall between $85 and $340 depending on the failed component. Sensor cleaning or realignment runs $85 to $150, limit or force adjustment $95 to $160, and logic board or gear replacement $180 to $340 parts included. The price is quoted and agreed in writing before any work starts, so the number you hear is the number you pay. Call (470) 202-3917 for an exact quote on your opener; estimates are free.
Yes. Repair calls are handled same day in Lawrenceville whenever parts are on the truck, and most opener repairs we see are sensor or limit issues that take under an hour to resolve. Our garage door opener repair in Lawrenceville service keeps common components in stock. If your opener has failed completely, call (470) 202-3917 and we’ll tell you what we carry and what we’d need to order before the visit.
No. The flat written price is quoted before any work starts and is not revised upward after we’ve seen the door, except in the rare case where you request additional work beyond the original scope. The best way to explain it: every job gets a written price first, and that’s the number you pay. We also offer a free second opinion on any written estimate from another company; bring the paperwork.
Yes. For most Lawrenceville repair visits, the technician carries common gears, sprockets, sensors, remotes, and logic boards for LiftMaster, Chamberlain, and Genie openers on the truck. Less common components or older-model boards may need to be ordered. If your repair falls into that category, the visit’s findings are still photographed, documented, and priced in writing before you commit to ordering anything.
A quality belt-drive opener maintained per the checklists above lasts 12 to 18 years in typical Lawrenceville conditions; chain-drive units run 10 to 15 years, and screw-drive units usually land around 10 to 14. The biggest local shortening factors are unsealed humidity hot summers cooking the logic board and homeowners never rebalancing the door after a spring change, which forces the opener to work against the door’s weight. Annual spring inspection and monthly reversal tests extend the life meaningfully.
The repair-versus-replace line in Lawrenceville is typically drawn when the failed component costs more than half the price of a new opener, or when the unit is over 15 years old and lacks safety features like automatic reversal and rolling-code remotes. A stripped gear on a 12-year-old chain-drive is often repairable; a dead logic board on an 18-year-old unit with no safety certification is usually not worth saving. We’ll lay out the numbers for both paths in writing and you decide from the documentation, not from a sales pitch.
The Bottom Line
The opener in your Lawrenceville garage is a safety device first and a convenience second, and almost everything that goes wrong with it can be traced to one of three causes: a sensor that’s misaligned or dirty, a mechanical door issue the opener is correctly refusing to fight, or settings that previous owners or handymen adjusted wrong. The monthly and annual checklists here catch the first two before they become failures, and the force and limit guidance keeps the third from becoming a hazard. For more guides & resources, see our blog. If you do need a repair or a new opener, insist on a written price and scope before work begins, and keep the documentation. It’s your paper trail.
Written by Marcus Deller, Owner at Servo Garage Doors Lawrenceville, serving Lawrenceville since 2015.